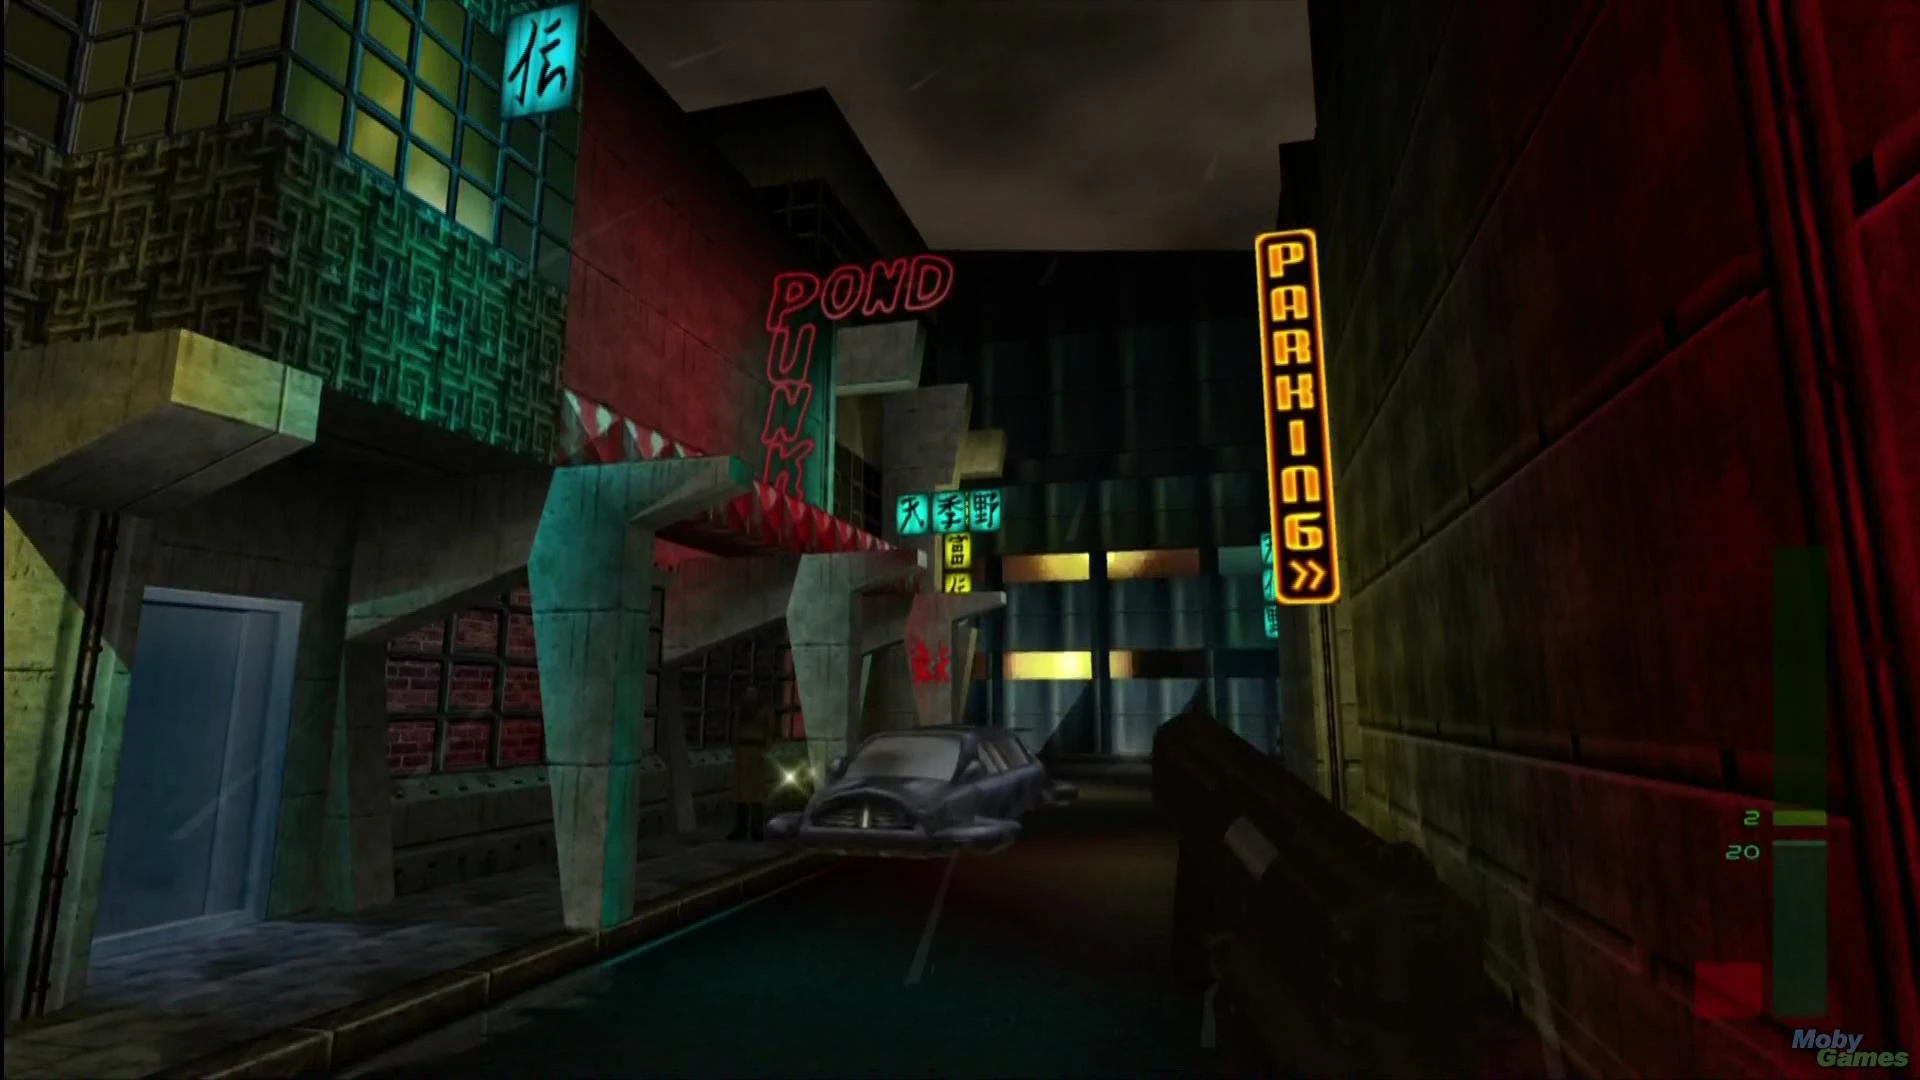
Chicago: Stealth is the fifth level in Perfect Dark. It takes place in the alley's of Chicago's Chinatown, outside the G5 Building.
Briefing[]
- Background: The G5 Corporation is believed to be a front for dataDyne. Care is needed due to the civilian presence on the streets. Expect intense resistance outside and inside the building - our recon team reported that the buildup of troops started hours ago.
- Carrington: Remember your urban combat training. It will come in very useful if the situation hasn't changed since the recons team's report earlier. One more thing, Joanna - there's a security robot patrolling the street. Stay away from it if at all possible
- Objective One - Retrieve drop point equipment [A, SA, PA]: The recon team we sent in while you were in transit left a small packacge of equipment for you, hidden in one of the storm drains. It has just about everything you will need to complete the mission objectives.
- Objective Two - Attatch Tracer to Limousine [PA]: The limousine on the main street arrived not long before you did. All attempts at a trace have come up blank, so it will have to be handled the old-fashioned way. Place a bug on the limo so it can be tracked back to where it came from.
- Objective Three - Prepare escape route [SA, PA]: There is a disused fire escape behind the G5 building that will be useful in your escape. Prepare the ground now by attatching explosives to a blocked-up doorway. Avoid giving an alarm, you must trigger the mine once the meeting surveillance is complete.
- Objective Four - Create vehicular diversion [A, SA, PA]: Any disturbance will attract attention from the guards in the area, but this can be used to your advantage. Reprogram the autopilot guidance computer on the cab to cause it to crash nearby.
- Objective Five - Gain Entry to G5 building [A, SA, PA]: One of the guards by the lift entrance is in charge of a control panel that will lock the lift doors, denying access instantly. The diversion caused by the crashing cab should draw that guard and the others out into the street leaving the way open. And remember, don't harm any civilians.
Walkthrough[]
- ALL: Right as you start, take out your Falcon and walk down the alley. There will be a guard to the left, kill him then continue down the alley passage. There will usually be an FBI agent in the corridor, so make sure to kill him before he calls for backup. Walk down the street and kill the two guards patrolling the sidewalks. To the left of the street is a passage that leads to a canal. Enter it and kill the two guards at each end of the canal. There will be a third near the storm drain. Crouch down to enter the storm drain and retrieve the equipment. Two guards will spawn in the canal once you get it, so be cautious. Return to the street.
- PA: Once you're sure the guard bot isn't near, head to the bar entrance to your left. There will be a limousine with a civilian next to it. Knock out the civilian so he doesn't see the tracer bug and place it on the limousine.
- ALL: Walk up to the taxi and reprogram it with your re-programmer. Make sure no guards nor the guard bot is around, as they will shoot and destroy the taxi.
- PA SA: Enter the corridor to the right of the taxi; it will lead to an alley filled with gas tanks. Avoid or subdue the civilians and continue down the corridor. You will approach a fire escape surrounded by five guards and an FBI agent. Kill the FBI agent first and then the guards. Be careful, the guards on the fire escape can be difficult to kill and can deal quite a bit of damage. Place a remote mine on the blocked door of the second level, this will allow for an easy escape on the next level.
- ALL: Once the vehicular diversion has been made, kill the four guards that file out of the G5 entrance and enter the building.
Weapons[]
- Falcon 2 (Scope): Equipped by Joanna from the start.
- 2 x Falcon 2 (Scope): You can find a second pistol inside the Pond Punk club.
- CMP-150: Some guards have these.
- DY357 Magnum: FBI agents have these.
- Falcon 2: If disarmed an enemy may arm one.
- Remote Mine: Picked up with the equipment. Place this on your escape route.
Gadgets[]
- Tracer Bug: Equipped by Joanna from the beginning. It's used to place on the limo.
- Data Uplink: Renamed the reprogrammer, for reprogramming the cab.
- Bombspy: Can be found inside a dumpster where the two CIA personal are; (one of them says "here take the wallet" when he sees you with a weapon.) Push the dumpster to a nearby exploding barrel, blow up the barrel and the dumpster will get destroyed revealing the bomb-spy.
Cheese[]
This one is well-hidden. On the road where the black limo is parked, there is a door behind it leading down to the Punk-Pond bar. Go down there and you'll find that the brown door loading inside is locked. Try to disarm some of the guards or fire around to make a lot of noise and a guard inside should open the door for you. Once you're inside, go left and enter the bathroom area. Go up to the toilet on the left and look inside it to find the cheese.
Hidden Cheese in a toilet in the Punk-Pond Bars bathroom.
Leaderboard Crown[]
Quickly Does it
- REQUIREMENTS: Complete all of the objectives and beat the mission in 35 seconds or less on Agent difficulty
- This is one of the Crowns that CANNOT be acquired in Solo Missions, meaning that you will either need to attempt getting it on Xbox Live multiplayer, by local split-screen with a buddy or by system link. If you do not have someone else to play with, It is possible to earn the Crown by yourself with two controllers. Start a split-screen game, and have the 2nd Player just stand where (s)he is, and complete all the objectives by yourself. This is difficult, but entirely doable depending on your skill level.
- In Co-Op, Player 1 can wait by the drop point equipment while Player 2 goes for the BombSpy (See Gadgets). Player 2 then pilots the BombSpy over to the entrance of the G5 Building and detonates it, killing the guards. This is an alternate way of completing the "Create vehicular diversion" objective, used primarily for speedrunning. Player 1 then grabs the equipment, and Player 2 rushes for the door to complete the mission. If playing by yourself, go for the BombSpy first, activate it and move it close to the door but not in view of the guards. Once it's close to the door, deactivate it then run to the drop point equipment and quickly pick it up. Pilot the BombSpy towards the guards and detonate it, then rush to the door. It is much harder that way, but still possible with enough practice.
Cheats[]
DK Mode (Monkey Mode in the Xbox Live Arcade version)
- REQUIREMENTS: Beat the mission on any difficulty
- This is a fun Cheat that makes all enemies and NPCs in a mission have long arms and a big head (Like Donkey Kong). The health properties of the enemies are not altered when this Cheat is active, so headshots are significantly easier to perform.
- REQUIREMENTS: Beat the mission in under 2:00 on Perfect Agent difficulty
- This Cheat will allow Joanna to begin any mission with a Psychosis Gun in her inventory.
Trivia[]
- Carrington stated that, in one of the objectives, that the Limousine had to be traced the old fashioned way. This may have been a reference to Goldeneye where Bond had to place several tracer bugs on vehicles numerous times.
| Perfect Dark - Missions | |||
|---|---|---|---|
| Mission 1 | DataDyne Central: Defection • DataDyne Research: Investigation • DataDyne Central: Extraction | ||
| Mission 2 | Carrington Villa: Hostage One | ||
| Mission 3 | Chicago: Stealth • G5 Building: Reconnaissance | ||
| Mission 4 | Area 51: Infiltration • Area 51: Rescue • Area 51: Escape | ||
| Mission 5 | Air Base: Espionage • Air Force One: Antiterrorism • Crash Site: Confrontation | ||
| Mission 6 | Pelagic II: Exploration • Deep Sea: Nullify Threat | ||
| Mission 7 | Carrington Institute: Defense | ||
| Mission 8 | Attack Ship: Covert Assault | ||
| Mission 9 | Skedar Ruins: Battle Shrine | ||
| Special Assignments | Mr. Blonde's Revenge • Maian SOS • WAR! • The Duel | ||